Thank you!
Your submission has been sent.
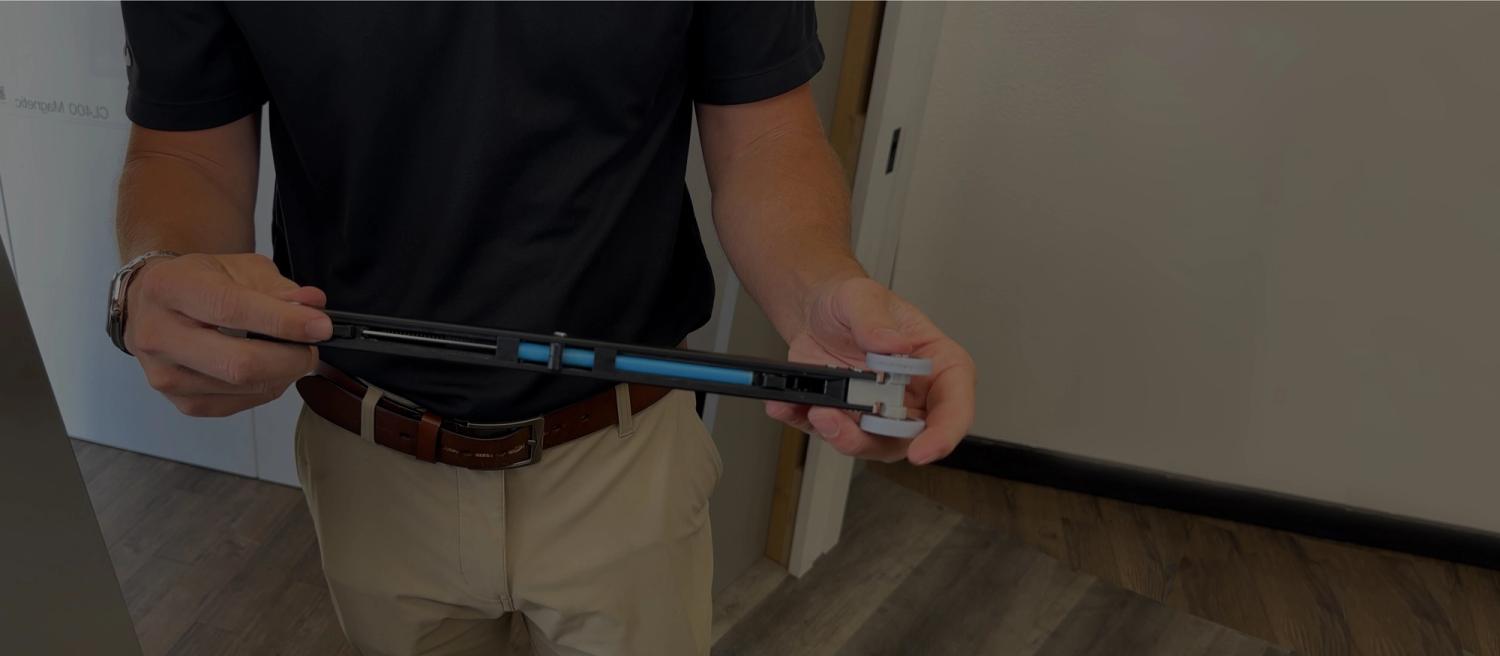
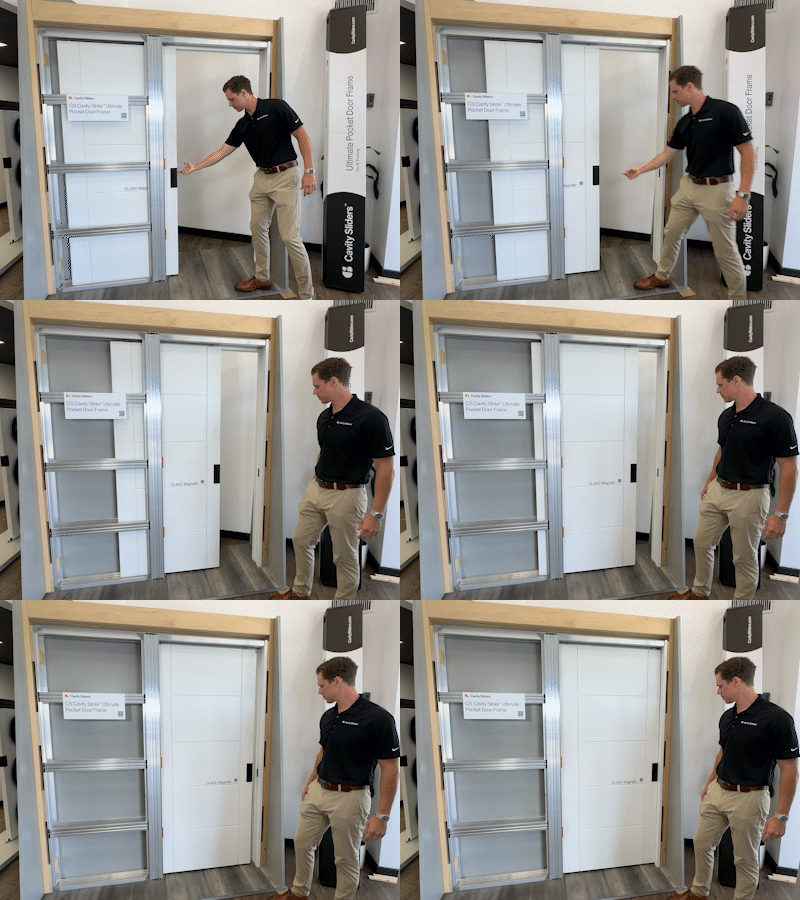
The CS SofStop is designed to bring quiet precision and premium performance to interior pocket doors of all sizes. Whether you’re working with standard openings or oversized panels, CS SofStop technology ensures smooth, controlled movement and a luxurious soft-close every time.
Our CS SofStop step-by-step instructions and visual guide make it easy for builders to integrate this premium feature into any project—delivering quiet precision, durability, and a luxurious finish every time.
CS SofStop Single Action – Provides soft-close functionality at one end of the track.
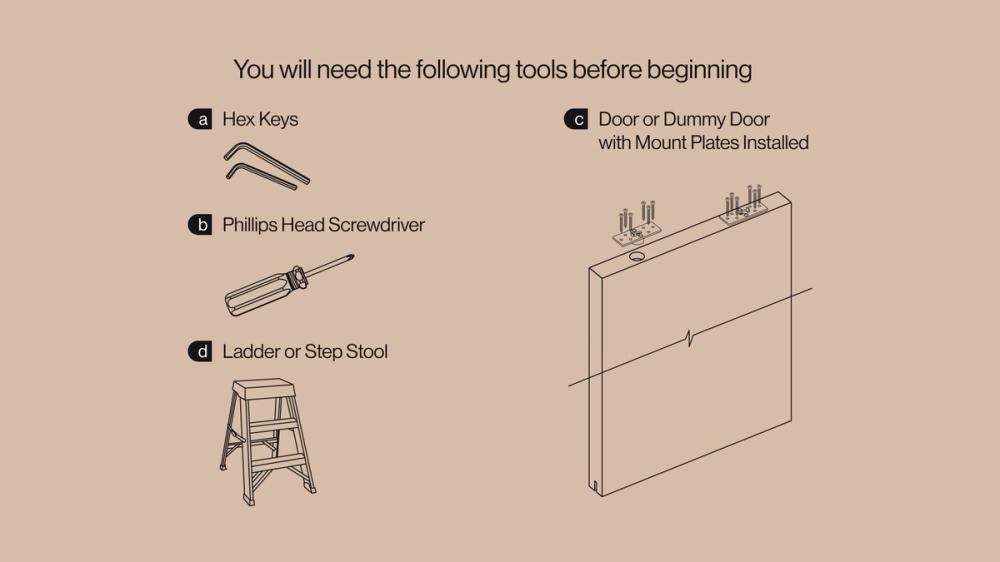
You will need the following tools:
a. Hex Keys
b. Phillips Head Screwdriver
c. Door or Dummy Door with Mount Plates Installed
d. Ladder or Step Stool
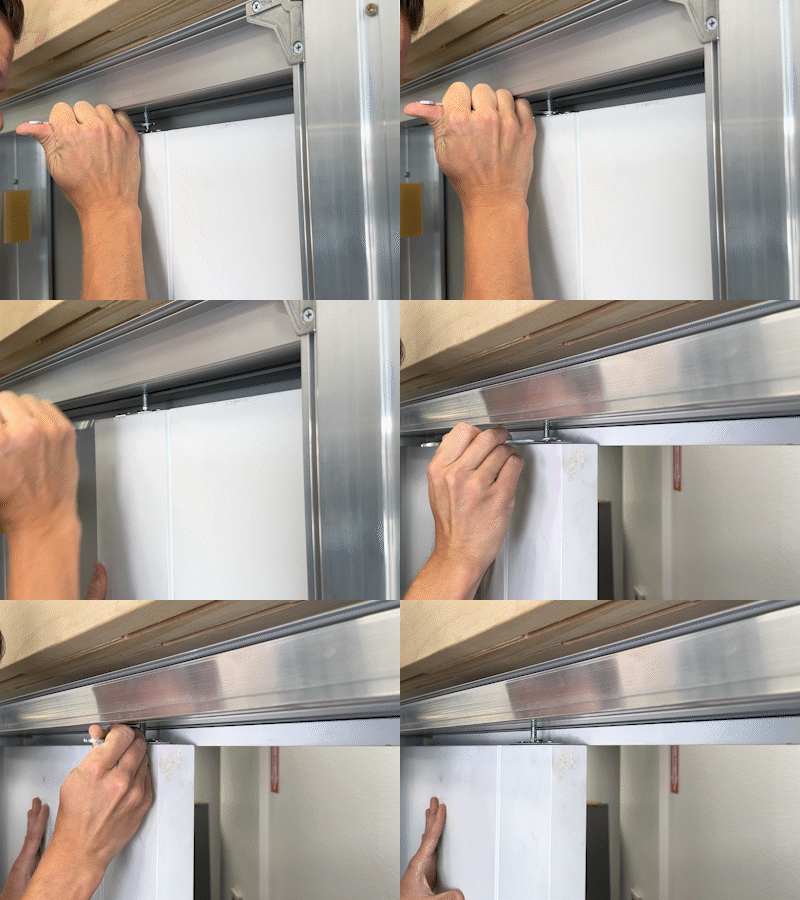
Insert the rear carriage wheels into the track and send it to the back of the pocket.
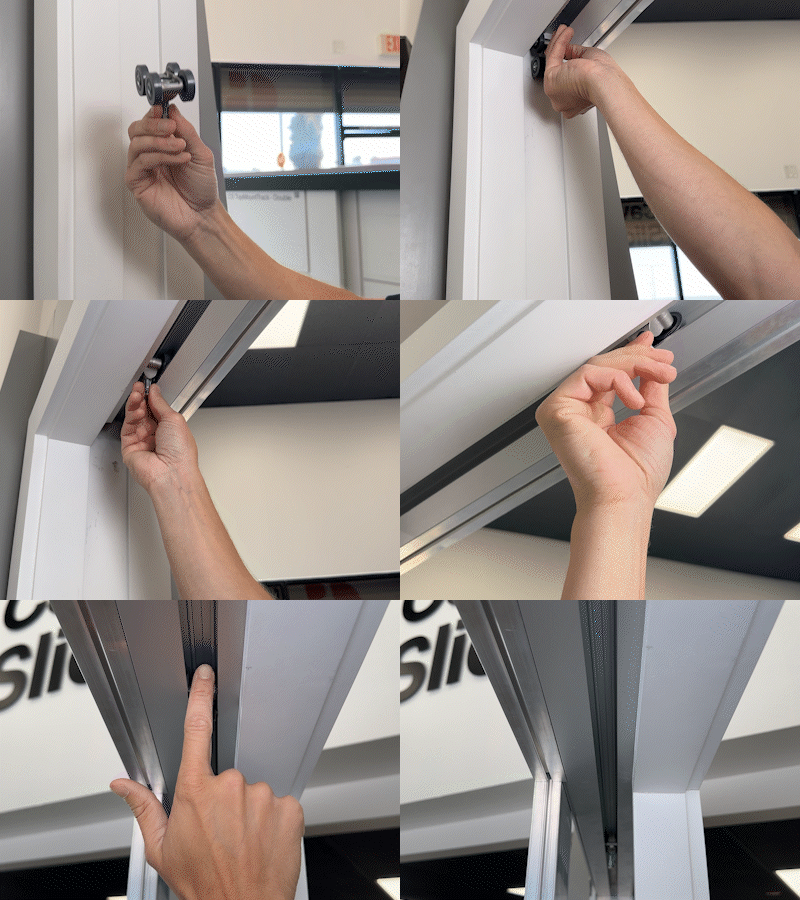
Load the mechanism hooks by pushing the tabs away from the center. Load on both ends. (One side may already be loaded)
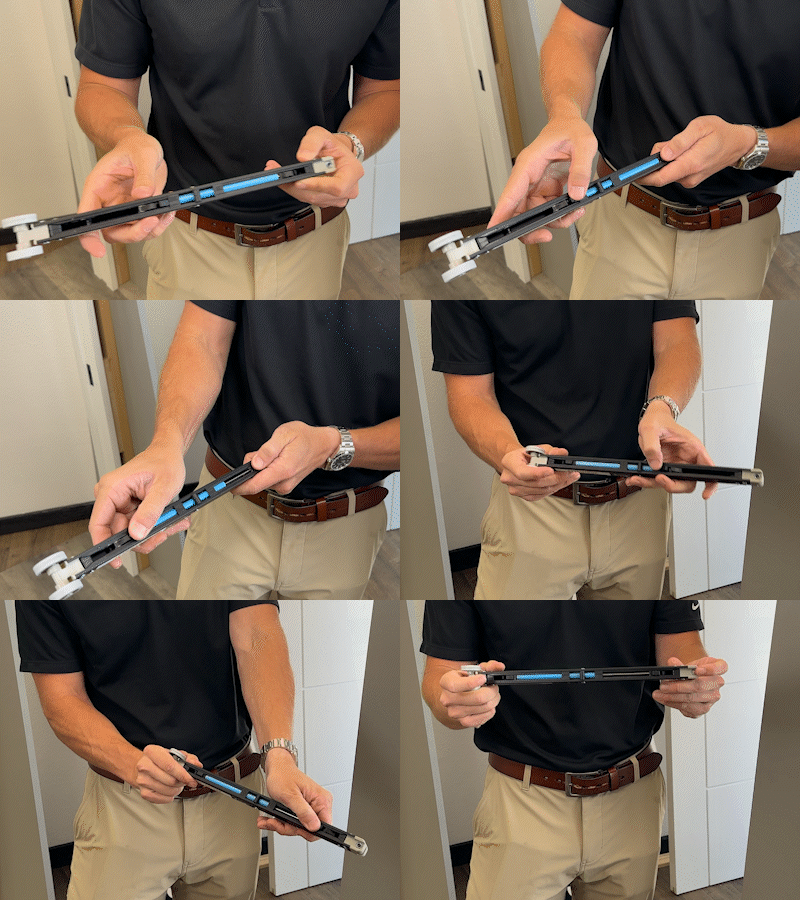
Insert the mechanism into the track and let it hang.
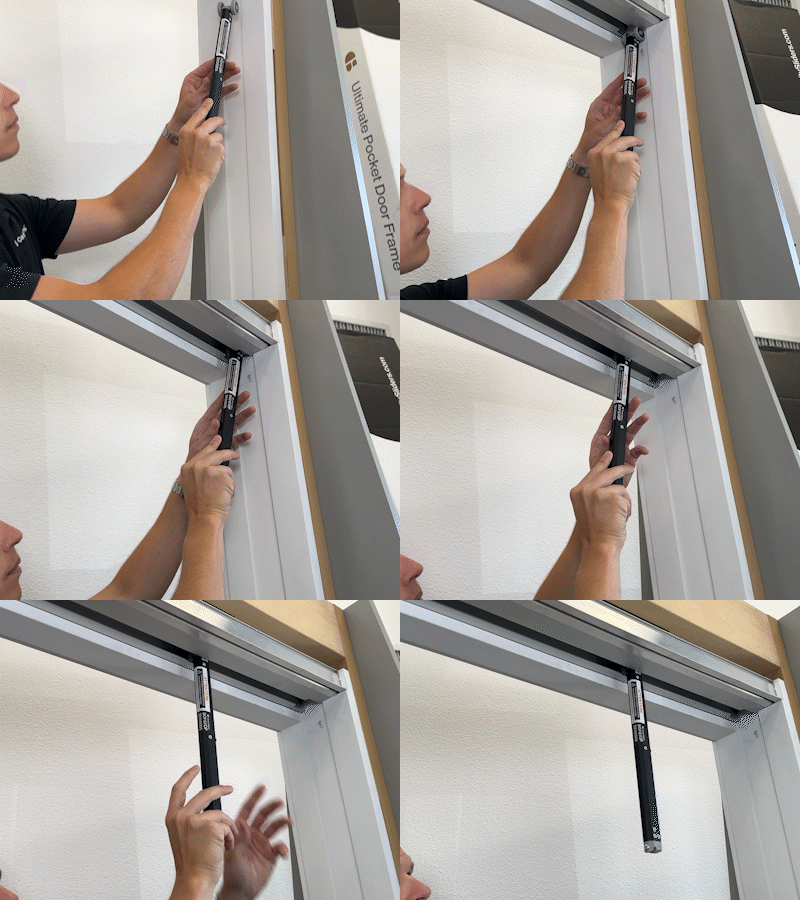
Install the front carriage with the tab facing towards the back of the pocket.
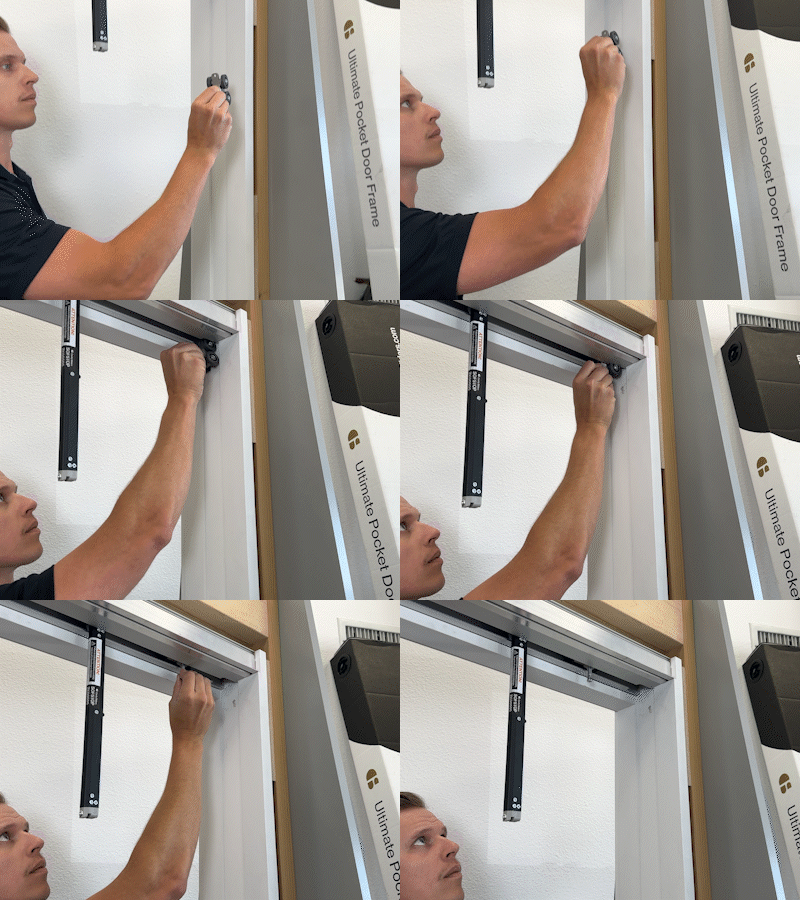
Connect the carriage to the SofStop mechanism with the provided screw.
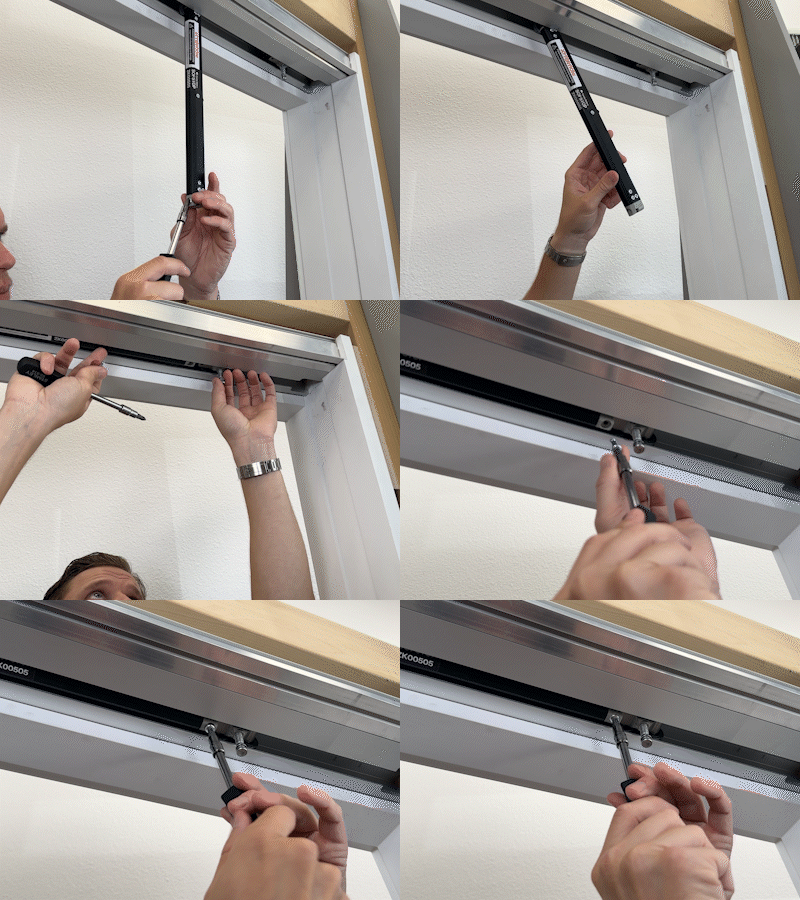
Attach your door or dummy door to the track.
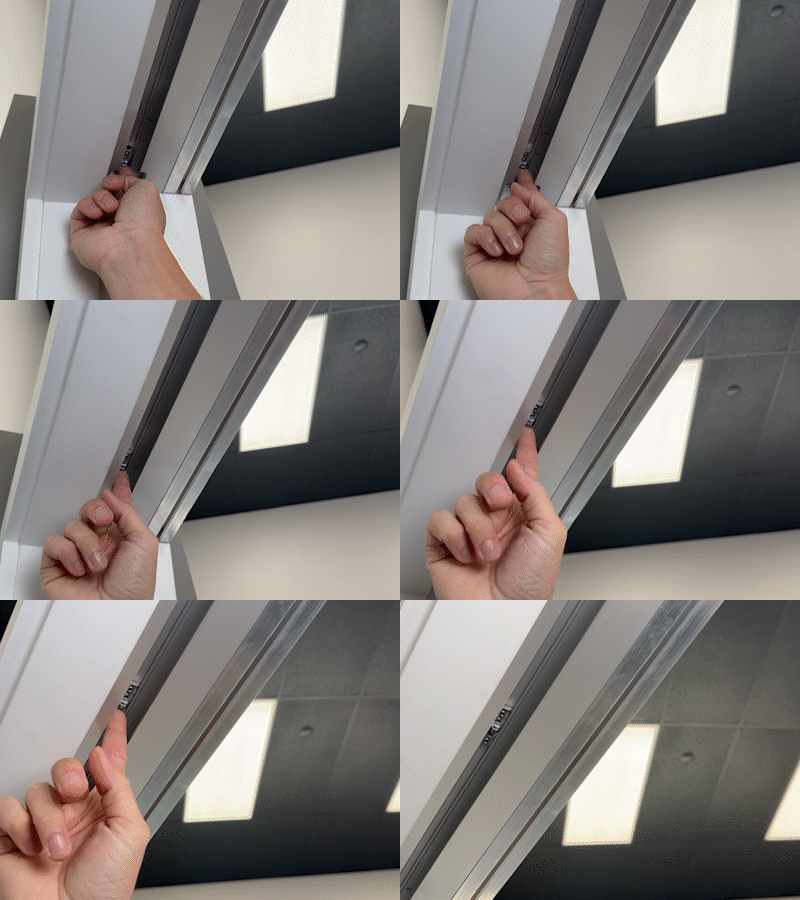
Insert the front activator and slide it towards the middle of the opening.
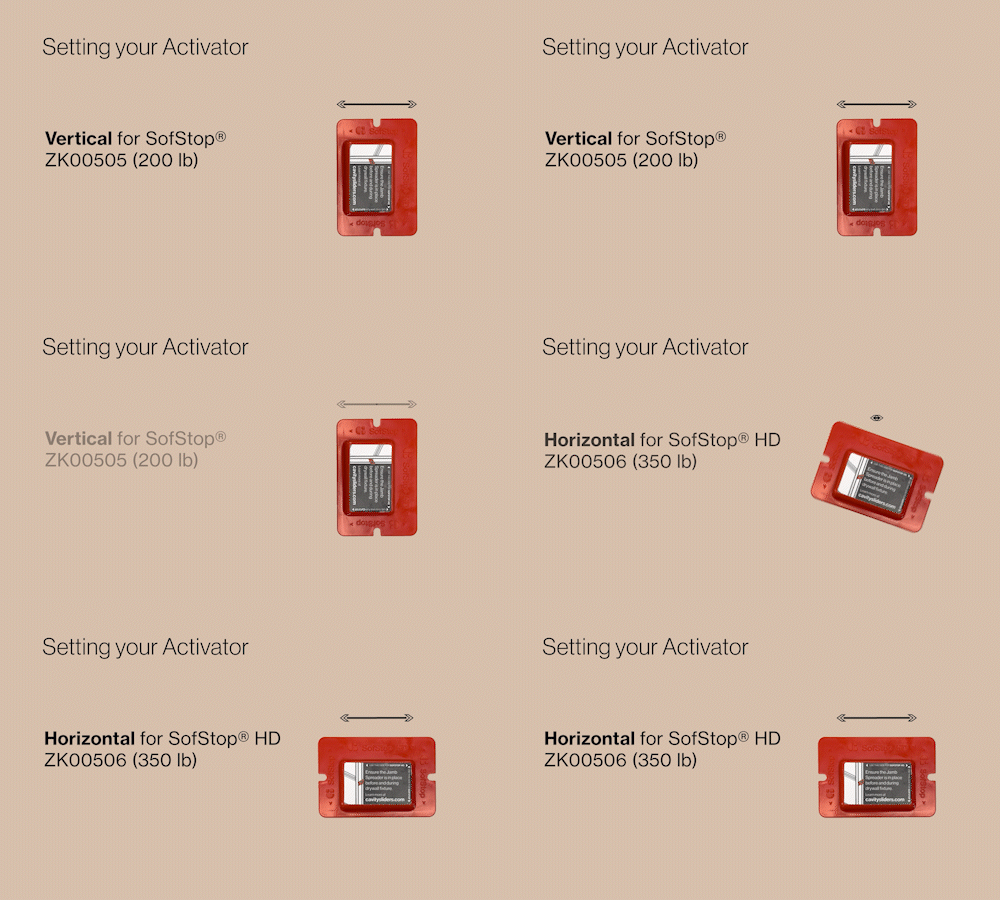
The SofStop® Activator Setting Block is used to place the activator in the correct position in the track so that the mechanism engages properly.
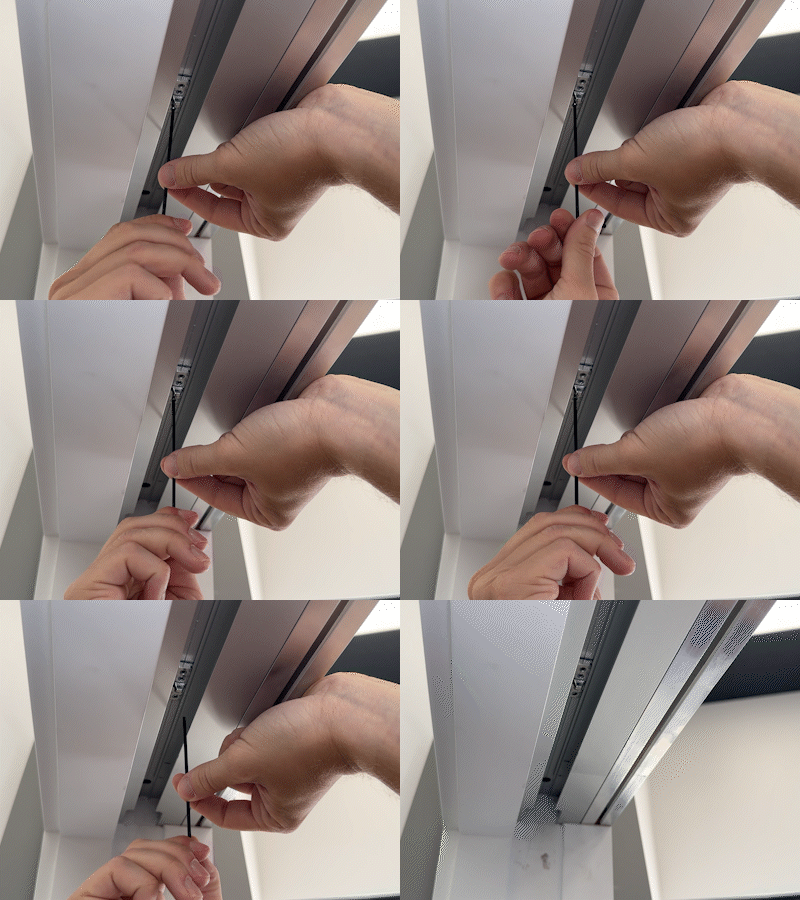
Bring the door slowly towards the closing jamb. You will hear the mechanism pick up the activator.
Tighten the screws in the front activator.
Congratulations! You have successfully installed the CS SofStop Single Action.
Create a CS Cavity Sliders account to start saving helpful resources today. Instantly access downloadable files, save your favorite products, explore articles and videos, and manage your projects—all in one convenient place.
CS SofStop Dual Action – Offers both soft-close and soft-open functionality. Perfect for high-traffic spaces or large, heavy doors that need both ends to smoothly open and close.
You will need the following tools:
a. Hex Keys
b. Phillips Head Screwdriver
c. Door or Dummy Door with Mount Plates Installed
d. Ladder or Step Stool

Insert the rear activator and send it to the back of the pocket.
Note: This step must be done BEFORE drywall is installed.
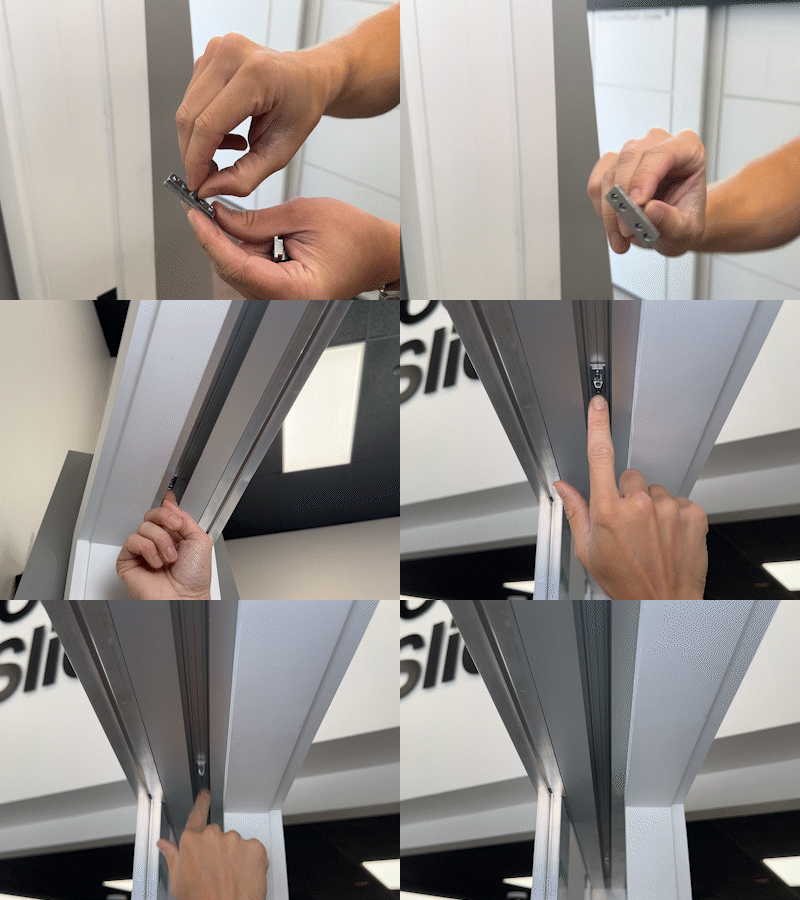
Insert the rear carriage wheels into the track and send it to the back of the pocket.

Load the mechanism hooks by pushing the tabs away from the center. Load on both ends. (One side may already be loaded)

Insert the mechanism into the track and let it hang.

Install the front carriage with the tab facing towards the back of the pocket.

Connect the carriage to the SofStop mechanism with the provided screw.

Attach your door or dummy door to the track.

Insert the front activator and slide it towards the middle of the opening.

The SofStop® Activator Setting Block is used to place the activator in the correct position in the track so that the mechanism engages properly.
Bring the door slowly towards the closing jamb. You will hear the mechanism pick up the activator.

Tighten the screws in the front activator.

Slide the rear activator towards the middle of the opening.
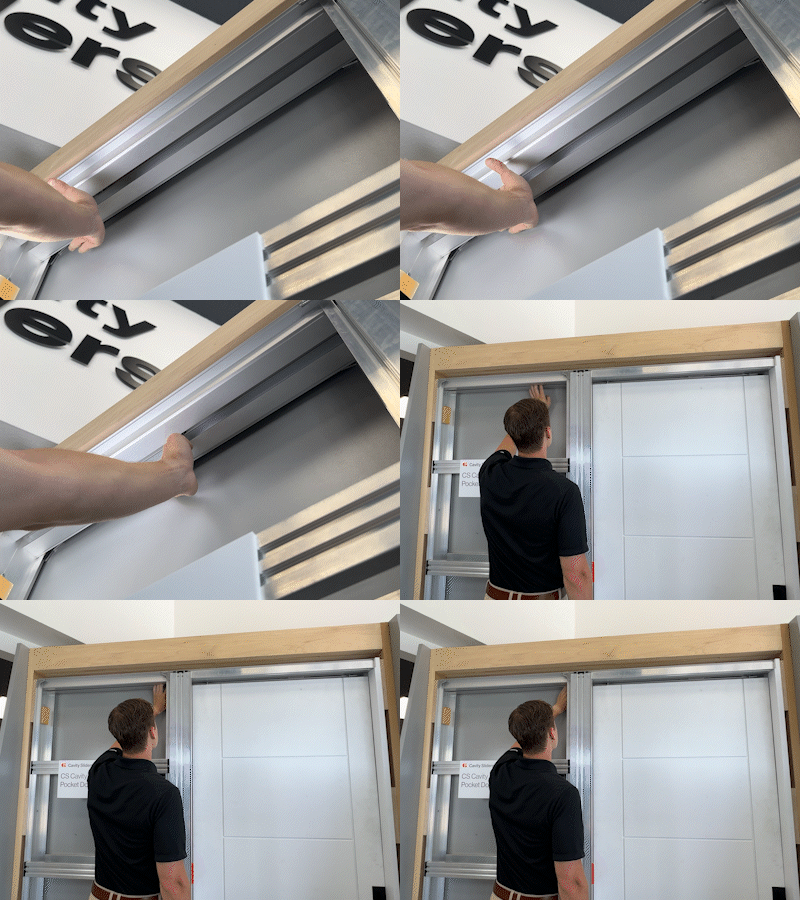
Place the Activator Setting Block on the sponge.
Just like setting the front activator, set the rear activator by bringing the door slowly towards the back stud. You will hear the mechanism pick up the activator.
Tighten the screws in the rear activator.
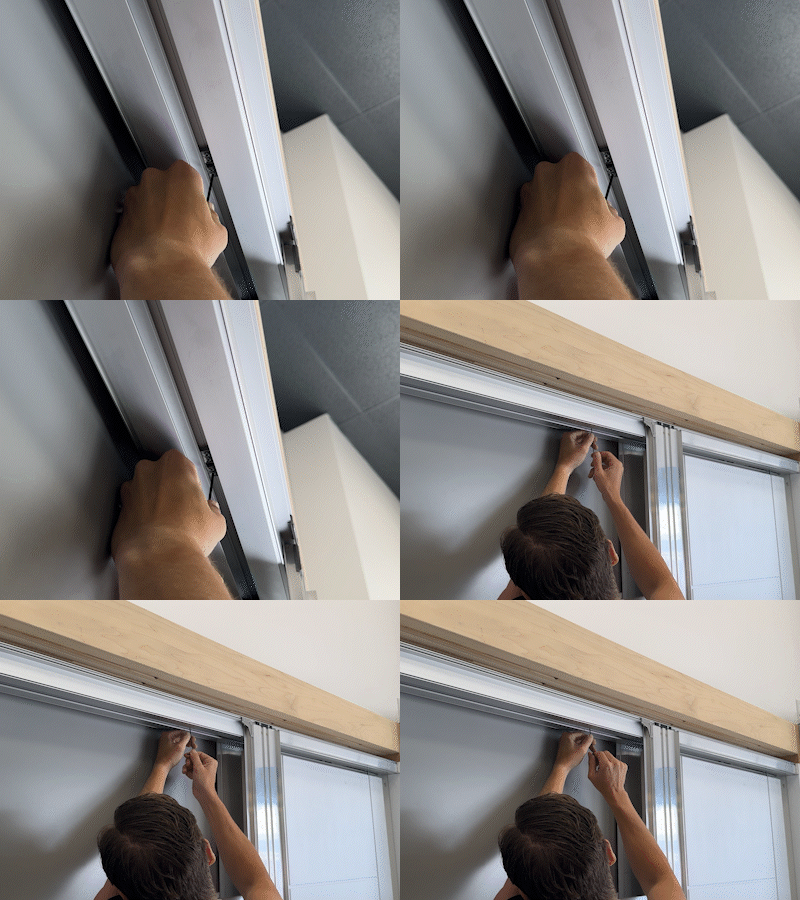
Congratulations! You have successfully installed the CS SofStop Dual Action.
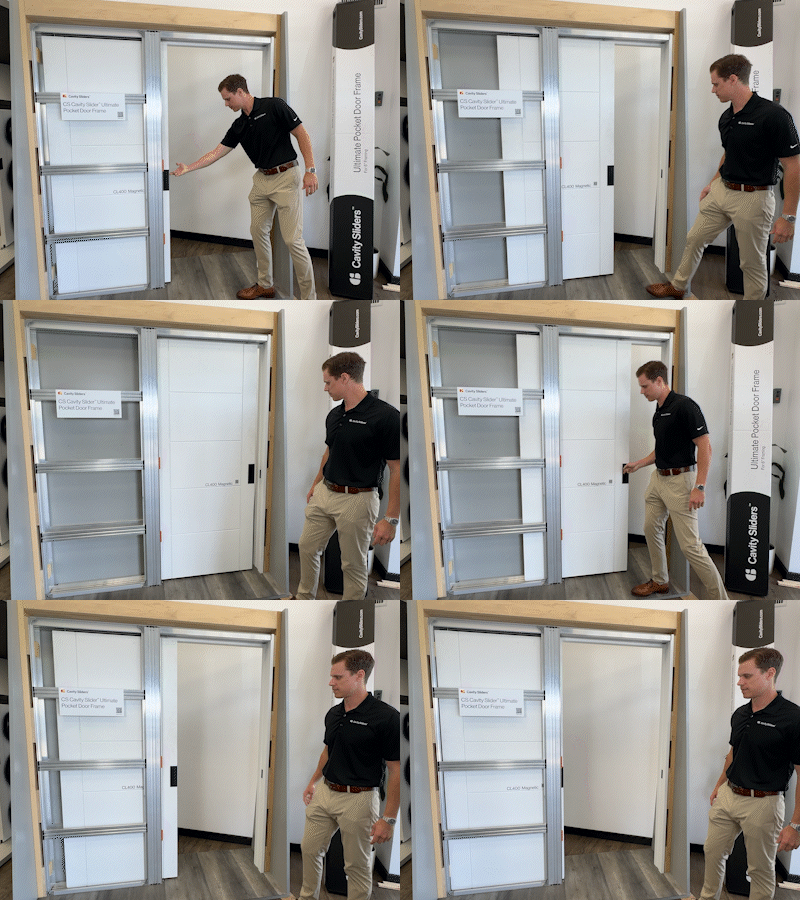
CS SofStop Installation and Video Guide (2025)
Thank you!
Your submission has been sent.